Saturday, November 9, 2013

DCWV November Challenge

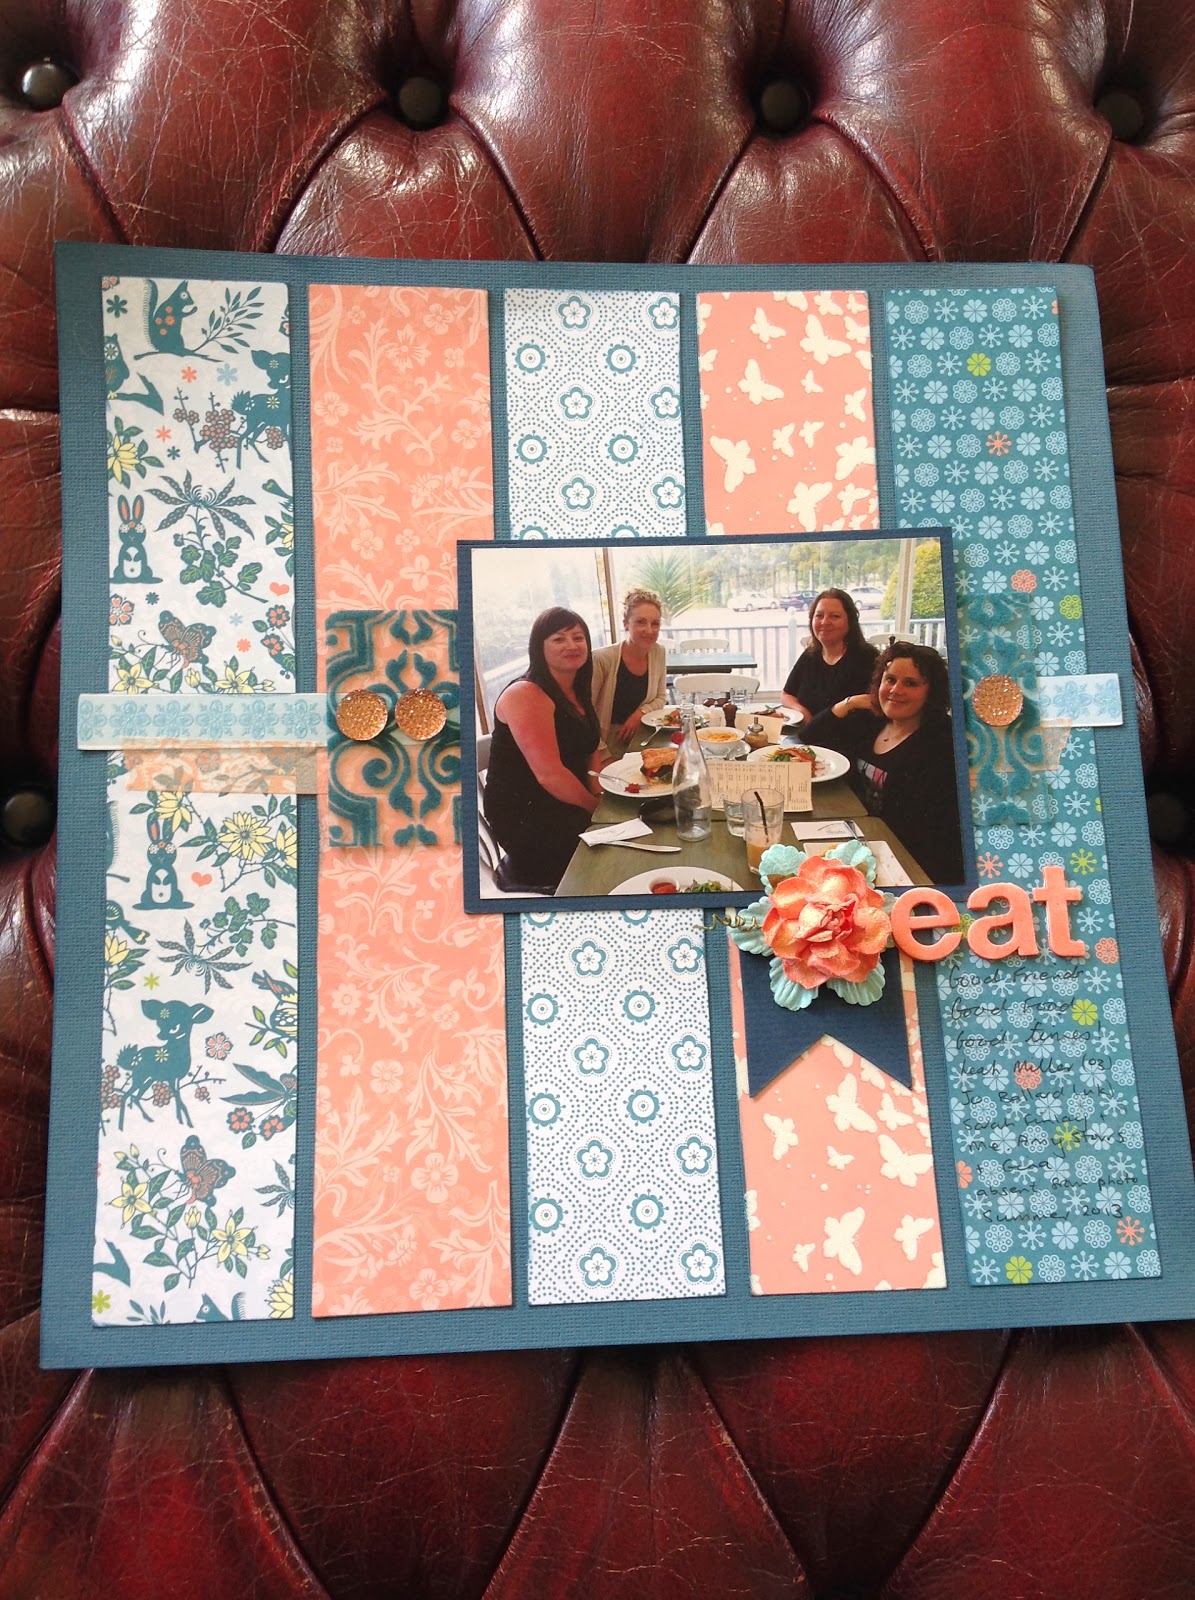
Just adding my submission for the DCWV November Challenge here so that my friends can come see the layout.

 
Would you look at that: a short blog post from me!

Heidi Swapp Frame

Remember this frame from CAD earlier this year?


I took the mini album out and filled it with pictures from a trip to OZ (already blogged about) which left the frame free for my creative endeavours. Well, the frame went from " I love, love, love it" to  " aaaaargh! I've ruined it!" You see, I saw a video online for colouring texture paste so I coloured it with the Georgia Peach colour shine and added it to the frame through a lattice stencil - disaster!  Pity because I had stencilled charcoal over a damask stencil beforehand and that bit looked perfect! Out came the mouse sander and I then learned that texture paste is not easy to sand off! Dad to the rescue.

Once the offending texture paste was removed I started again. I was going to prime the wood with gesso but I couldn't get the lid off so I went for matt and rustic instead! Back to the damask stencil but this time I used an ink blending tool so that I could A) save my ink and B) add some areas darker than others. A few spritzes of Georgia Peach and then I dry brushed some blue paint on top. I painted the inside edges blue, a few more spritzes of Georgia Peach, and then I embossed the phrase on the back plate. Next up was to colour some flowers and decorate the frame. Finally it was back to "I love, love, love you" again.


Saturday, October 26, 2013

A Touch of Sparkle

Today's blog post has a touch of sparkle to it. The current challenge over at Southern Girl's Challenge blog is: Shine On. The projects need to have a touch of shimmer or shine. Mine has a touch of sparkle! The details for the challenge are here

When I made the card in the previous blog post I embossed two cards and made a second card with different stamps and different colours. I also reversed the hexagon embossing on this one (I'm not sure if you can see in the picture but the stamps are placed inside each embossed hexagon). It was fun  making the background (and nerve wracking - what if I mis-stamped!) but I decided to go further with this one and added a greeting, a butterfly and a punch out (coloured to match).  The next day I decided to add more sparkle by adding a tiny dot of liquid pearls to each of the yellow stamped images.


The butterfly has silver glitter in the pattern and the liquid pearls surely count as shimmer?


Materials: Cardstock and Patterned Paper  (Stampin' Up!, DCWV), Stamps (Hero Arts, Maya Rd, Stampin' Up!), Ink (Stampin' Up!), Embossing Folder (Stampin' Up!), Punches (EK Success), Liquid Pearls (Ranger).

Friday, October 25, 2013

It's Not About The Card

This week it is not about the card; it is all about the envelope!

The current challenge at A Blog Named Hero is: Embell- Ope. You are required to embellish an envelope. You are not required to make a matching card but I did. I made my card first then made the envelope in the same colours. The reason why they are in two different styles (but same colour scheme) is that I used other brand stamps on my card so I delved into my stash to find Hero Arts brand stamps for the envelope.

The details for the challenge are here

 I do actually embellish my envelopes sometimes when I give cards - even if it is just a strip of washi on the top or bottom - it makes a real difference.

First, I will show you my card and envelope together:


Then the envelope on its own:


Finally, the card itself:


I'm not sure if you can see it in the picture but I embossed the white cardstock with a honeycomb embossing folder and I then stamped the images inside each hexagon. It looks really cool in real life. I did a second one where I did the honeycomb in reverse. It looks neat either way.

I might show you the card again in a few days as I decided to add liquid pearl drops to the centre of each of the flowers. Gosh I love that stuff [liquid pearls]. I want to go out and order it in every colour immediately! [Photos are updated!]

Materials:
Cardstock (Stampin' Up!), Stamps (Hero Arts, Maya Rd), Ink (Stampin' Up!), Embossing Folder (Stampin' Up!),

Saturday, October 12, 2013

A Recipe Challenge

The BFF came over for a scrapbooking session and we decided to do the Scrappin' Patch Recipe Challenge.  I have to say; it was a real challenge for me and the BFF will testify to that by the amount of muttering and cursing that was coming from me. I thought starting with a sketch was a challenge but a recipe challenge is even harder!

Here's the recipe:
3x Patterned Papers
1x Doily
2x Buttons or Brads
1x Staple (I used 2 - shhhh!)
Ribbon
Masking/Masking
Layering

You could use inks, pens and sprays and one other thing.

The first challenge, for me, was the 3 patterned papers - I struggle with mixing patterned papers and I am concerned with the cost of using so many papers on one layout. The next challenges were ones that both the BFF and I struggled with - the masking and the staple. How do you add masking when you are already using three patterned papers? Isn't it busy enough? Then, one staple? And where do you put it? I ended up using 2 staples. My one other thing is the ricrac.


I've never struggled so much with a layout or a challenge and it took me so long!

PS The ribbons on the photo corners are actually bright teal green - it just doesn't show up in the photo. The doily was spritzed with charcoal spray ink through a damask stencil - again it doesn't show up well.

The details for the challenge are  here

Materials: Papers (Kaisercraft, Echo Park), Stencil (Prima), Spray Ink (Tattered Angel), Staple (Tim Holtz), Buttons (Doodlebug), Ink (Tim Holtz), Doily, Ribbon

Friday, October 11, 2013

A Triple Challenge For A Change

Finally I have been creating and can share my card with you. It is totally different to my usual style  yet I still like it. I can see myself making this one again. I did have an 'Aha' moment after I made it: I was wondering if I needed to add foliage to the flowers. I only have a couple of leaves in my stash (Really? you say. Believe it or not; its true). Last night my brain got to working and I thought about a large Martha Stewart Vine border punch I have then I wondered if I had a fern punch in my stash. This morning I checked out my old punches - remember those from the early days of scrapbooking? I was quite shocked to realise just how many of them I have! I did indeed have a fern punch as well as a holly leaf punch. Oddly enough, the holly punch was the one that worked best. Here's my little beauty:


Pretty no? The butterfly was part of my prize for being published this year. I have another green butterfly from the packet and I think I might have to make another card like this to use it on. I also have a beaded dragon fly that would work great on a card like this. Best I go get creating then.....

This card was made for three challenges:
A Blog Named Hero: #34 You Better Shape it Up . The details are here
Simon Says Stamp Wednesday Challenge: Use a Rubber or Clear Stamp. The details are here
Simon Says Stamp Monday Challenge: Inspired by Tammy Tutterow. I was inspired by the daisies on a couple of her creations and the butterfly - I did a cluster with flowers and a butterfly on my card. The details for the challenge are here

Materials:
Cardstock (Stampin' Up!, BoBunny), Dies (Spellbinders), Stamp (Montarga), Ink and Pen (Tim Holtz), Flowers (Prima, Kaisercraft), Butterfly (Couture Creations), Pearls, Punch.

Sunday, September 29, 2013

What I've Been Up To Lately...

The months are whizzing by and I nearly missed loading a post for September! Never fear, I managed to get one in just in time. And, if we go by USA time, then I have a day to spare :)

Since my last post I have been creating here and there and unfortunately I was also sick which sucked my creative mojo. I finished my double page 2012 layout - this is one I do every year with index photos. This year I added fold out pages on the outside edges to create room for journaling and more photos. I had held off working on this project as I wasn't sure how to 'handle' the content. Last year was challenging for me health-wise and I wanted to document it yet still remain positive. I think I managed it.

Last weekend I finally got my creative mojo back and added photos to the mini albums made at CAD earlier this year. I really enjoyed creating them and I even used pink stickles (I am not a pink kind of girl).  Thought I'd use my September post to show you how they turned out:


These are photos from times with good friends in Auckland over a couple of visits last year. I love, love, love that I finally used some stamps from my collection that I have never used - that's right I said never. At least I can feel a little less shame now, right?


These photos were from a trip to Canberra to visit dear family friends.


These photos were from a family trip to Melbourne and I love the family pictures we took at a restaurant one night.
 
There you go, that's what I have been up to lately.