You will be seeing quite a few creations using Pink & Main stamps for the next 6 months because I have been selected to be on the Pink & Main design team. Excited much? This is an exciting development for me and I am looking forward to making the most of this opportunity.
This is my first post on the Pink & Main design team. I am looking forward to working with the team and using the seriously cute stamp sets.
For my first post I decided to make fortune cookies which you could add little notes in for Valentines day or Chinese New Year (coming up this week). These little cookies are so quick to make and customizable for any theme you want. As you can see, I made a few with a couple of different themes.
Most of the cookies I decorated the front, one I left plain. You can also decorate the inside or just add a simple note. Here are close ups of the two I made with Chinese New Year in mind:
The red patterned paper is perfect for Chinese New Year and they also relate to the red envelopes that are given at that time of year.
Any patterned paper can be used and double sided paper gives the nicest result. However, you can also make you own patterned paper by stamping an image on plain paper as I did on the yellow cookie with the green shamrock. This way you can get more use out of your stamp sets.
The link to the Pink & Main blog post is
here .
Here's a few more pictures that didn't make it to the blog post:
This one I made with Valentines in mind and made it a bit smaller. Wouldn't it be sweet to add a choc kiss in the back?
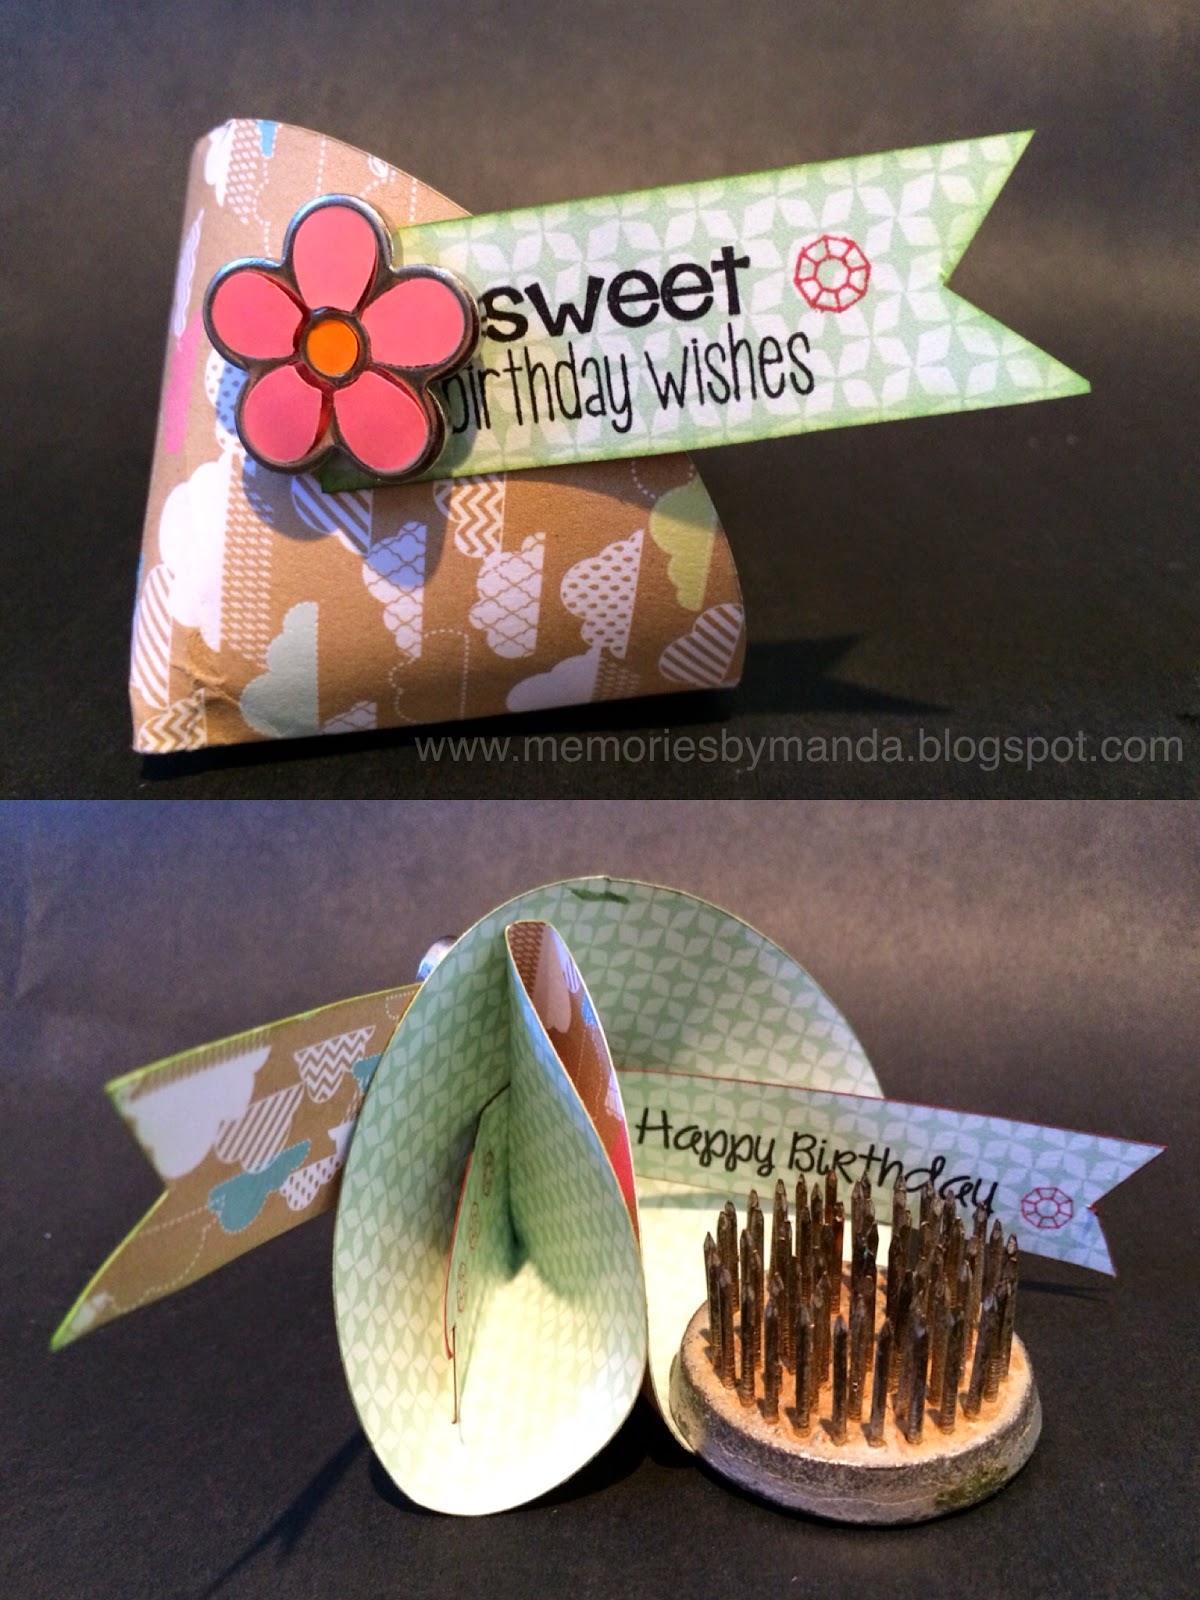
The next one I made with birthdays in mind. These would be a great alternative to birthday cards. FYI don't add a heavy embellishment like the flower to the side of these cuties - they will fall over!
Lastly a fortune cookie for a friend or family member. I stamped the paper with shamrocks to make the perfect themed patterned paper. I thought these would be great for St Patrick's day coming in March. FYI adding the heavy embellishment to the centre is a much better idea.
If you Google fortune cookies you will find a lot of instructions and you will notice that mine are slightly different. I wanted an opening in the back to add a message, decoration or chocolate.
You can glue them together with glue dots or hot glue. My glue dots didn't hold them so it was the glue gun for me. Guess how many fingers I 'burned' putting these babies together.
You can buy Pink and Main stamps
here .
Materials:
Pink and Main stamps: Pandamonium,You Rocket, Soda Pop, Lucky Friend, Party Princess.
Papers & Cardstock: Bazill Basics, Stampin' Up!, Kaisercraft, Echo Park, Grant Archival
Ink: Ranger, Stampin' Up!, Tim Holtz